

contact@rovalux.com
Choosing an Integrated Sink Vanity Unit for Any Bathroom
Updated on: 2025-10-09
An integrated sink vanity unit combines the basin and counter into one streamlined piece, saving space and simplifying cleaning. This guide explains how to choose the right size, configuration, and finish, and walks through a careful, step-by-step installation. You will also find practical tips for storage, plumbing compatibility, and wall-mount support, plus concise answers to common questions. By the end, you will feel confident selecting and fitting a unit that suits your bathroom’s layout, style, and daily needs.
Table of Contents
- Integrated Sink Vanity Unit Overview and Buying Basics
- Step-by-Step Guide: How to Install and Plumb an Integrated Sink Vanity Unit
- Practical Tips for Choosing a Vanity Unit with Integrated Sink
-
FAQs: Integrated Sink Vanity Unit Sizing, Installation, and Care
- What size integrated sink vanity unit do I need for a small bathroom?
- How do you install and plumb an integrated sink vanity unit?
- Do I need a professional for a modern wall-mounted integrated sink vanity unit with drawers?
- How does a 600mm integrated sink vanity unit with storage compare to larger sizes?
- Wrap-up and Final Thoughts on Choosing an Integrated Sink Vanity Unit
- About the Author: Rovalux
Integrated Sink Vanity Unit Overview and Buying Basics
An integrated sink vanity unit merges the countertop and basin into a single, seamless surface. If you have limited space or simply prefer a clean, modern look, an integrated sink vanity unit offers a tidy solution with fewer seams and easier upkeep. In the first moments of planning, it helps to consider your room dimensions, plumbing location, and storage needs. Whether you are comparing a vanity unit with integrated sink to a traditional top-and-basin setup, the integrated option often simplifies maintenance and boosts style with a sleek silhouette.
Many shoppers also compare an integrated basin vanity unit to a standard bathroom sink cabinet. While both provide storage and a sturdy platform for the basin, the integrated design reduces joints where water can pool, which may help keep surfaces cleaner with regular care. As you explore finishes and sizes, you might also find helpful product collections and inspiration on the Rovalux website.
Benefits of an Integrated Basin Vanity Unit
- Streamlined cleaning: Fewer seams can make daily wipe-downs simpler.
- Space efficiency: A compact footprint is ideal for small bathrooms and powder rooms.
- Unified style: The counter and basin match perfectly for a modern, minimalist look.
- Smart storage: Drawers and shelves keep essentials organized and within reach.
Common Styles: Wall-Mounted vs. Floor-Standing
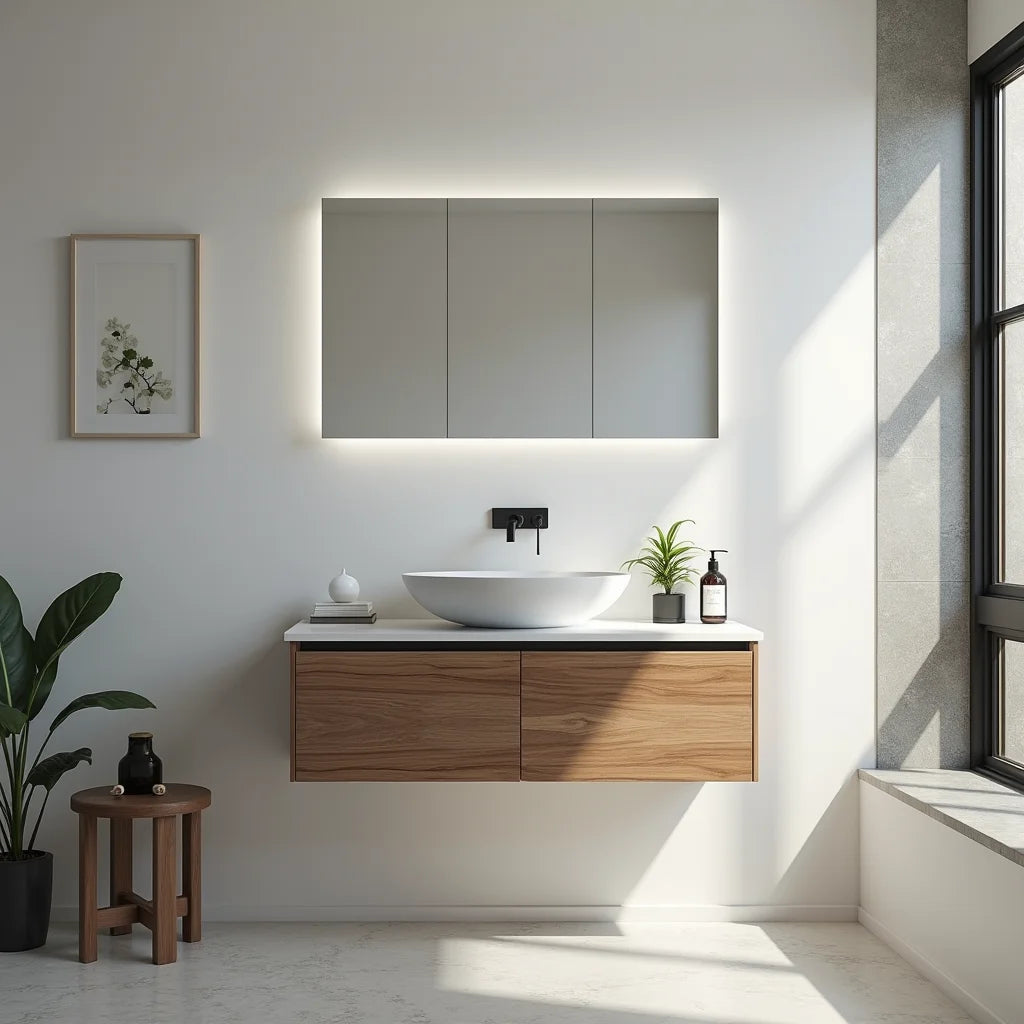
A floor-standing integrated sink vanity unit suits bathrooms where existing plumbing comes up through the floor or where additional weight-bearing support is preferred. By contrast, a modern wall-mounted integrated sink vanity unit with drawers can make a room feel more open and airy by exposing floor space underneath. Wall-mounted units may require sturdy wall anchors and attention to stud placement. If you are browsing a variety of formats and sizes, you can view a wide selection under All collections.
Step-by-Step Guide: How to Install and Plumb an Integrated Sink Vanity Unit
Installing an integrated sink vanity unit can be a satisfying upgrade when approached patiently and carefully. The following steps outline a typical process. Please adjust based on your specific product instructions, local building codes, and your comfort level with plumbing tasks.
Tools and Materials Checklist
- Measuring tape, level, and pencil
- Stud finder and appropriate wall anchors (for wall-mounted units)
- Adjustable wrench, screwdriver set, and drill
- Silicone sealant and plumber’s tape
- P-trap kit, supply lines, and shut-off valves (if needed)
- Bucket and towels
Pre-Install Preparation for Your Bathroom Sink Cabinet
- Measure your space. Confirm the width, depth, and height, noting door swings and clearance for drawers. A 600mm integrated sink vanity unit with storage often suits small bathrooms, while larger rooms can accommodate 800–1,200mm units.
- Check plumbing positions. Identify where your supply lines and drain are located. Wall-mounted units may require the drain and supplies to align within the cabinet’s rear cutouts.
- Plan for delivery and access. If your hallway or doorway is narrow, confirm that the packaged unit will fit. For shipping details, you may review the Shipping policy.
- Protect surfaces. Lay down drop cloths and position a bucket under pipes to catch residual water when disconnecting any old fixtures.
Plumbing Basics for a Vanity Cabinet with Basin
- Shut off water at the supply valves. Turn on the faucet to relieve any pressure.
- Dry-fit the unit. Set the integrated sink vanity unit in place to verify alignment with wall studs, drains, and supply lines. Mark positions with a pencil.
- Secure the cabinet. For floor-standing units, follow the manufacturer’s brackets or anti-tip hardware to anchor the cabinet to the wall. For wall-mounted designs, use a stud finder to locate framing and install heavy-duty anchors according to the product guidelines.
- Install the faucet and waste. It is often easiest to attach the tap and waste assembly to the integrated basin before final placement. Use plumber’s tape on threaded connections and apply a neat bead of silicone where specified.
- Connect the supply lines. Attach hot and cold lines to the faucet, then to the shut-off valves. Tighten gently yet securely, avoiding over-torque.
- Fit the P-trap. Connect the trap to the basin waste and the wall drain. Ensure slopes are correct for proper drainage. Hand-tighten first, then snug with a wrench as needed.
- Seal and level. Apply silicone where the unit meets the wall (if required) and confirm the cabinet is level. Adjust feet or mounting hardware to correct any tilt.
- Test for leaks. Open the valves and run water through both hot and cold. Check each connection and the trap for drips. Tighten carefully if needed and wipe away excess sealant for a clean finish.
With attention to detail, fitting a vanity cabinet with basin can go smoothly. If you encounter complex plumbing or wall conditions, it may be kind to your schedule and peace of mind to consider a professional installer. If you need assistance, the Contact page can be helpful for support.
Practical Tips for Choosing a Vanity Unit with Integrated Sink
- Size for flow: In a compact room, a 600mm integrated sink vanity unit with storage typically balances basin comfort with floor clearance. Leave room to move and to open drawers fully.
- Mounting style: A modern wall-mounted integrated sink vanity unit with drawers creates an open look and makes floor cleaning easier. Floor-standing units may feel substantial and can offer larger internal capacity.
- Storage layout: Deep drawers help with tall bottles; shallow top drawers keep daily items accessible. Consider organizers for a tidy interior.
- Material and finish: Moisture-resistant finishes are helpful in humid spaces. Choose hardware that complements taps and shower fittings for a cohesive look.
- Plumbing compatibility: Confirm tap hole configuration (single-hole, mono mixer, or widespread) and waste type. Check the rear cutout for supply and drain alignment.
- Cleaning ease: Integrated basins reduce grime-catching seams. A rounded internal bowl can also make rinsing simple.
- Future flexibility: If you might change layouts later, consider a unit with adjustable feet or removable back panels for easier service.
As you compare options, it may help to establish a shortlist of must-have features—such as soft-close drawers, extra height for comfortable use, or a specific color tone—to keep your selection process focused. This gentle approach ensures your integrated sink vanity unit reflects both your style and your daily routine.
FAQs: Integrated Sink Vanity Unit Sizing, Installation, and Care
What size integrated sink vanity unit do I need for a small bathroom?
Many small bathrooms work well with widths from 500mm to 700mm, with 600mm being a thoughtful middle ground. A 600mm integrated sink vanity unit with storage often provides enough basin space for comfortable handwashing while preserving movement in tight layouts. Measure door swings, towel rail positions, and clearance for drawers to ensure easy daily use.
How do you install and plumb an integrated sink vanity unit?
The basic process includes shutting off water, dry-fitting the cabinet, securing it to studs or with appropriate anchors, installing the faucet and waste, connecting supply lines, fitting the P-trap, and testing for leaks. The step-by-step guide above offers a clear overview. Please follow your product’s instructions and local rules, and consider a professional if you are unsure at any point.
Do I need a professional for a modern wall-mounted integrated sink vanity unit with drawers?
Wall-mounted units require sound wall structure and accurate leveling, so many people appreciate professional support, especially in older homes or on tiled walls. A qualified installer can ensure secure anchoring and neat plumbing connections. If your walls are robust and you are experienced with tools and plumbing, a careful DIY approach can be possible.
How does a 600mm integrated sink vanity unit with storage compare to larger sizes?
A 600mm unit can be a kind choice for compact rooms, balancing function and space. Larger units (800–1,200mm) increase counter area and drawer capacity, which can be helpful for shared bathrooms or households with more toiletries. The best size depends on your room dimensions, circulation paths, and how many items you want to keep within reach.
Wrap-up and Final Thoughts on Choosing an Integrated Sink Vanity Unit
Selecting an integrated sink vanity unit becomes straightforward when you begin with measurements, consider mounting style, and plan for plumbing alignment. If you prefer a minimalist, easy-to-clean surface, an integrated basin vanity unit is a thoughtful fit. For compact spaces, a 600mm model offers practical storage without crowding the room, while wall-mounted designs add visual openness. When you are ready to explore options, browsing curated selections under All collections can be helpful. With careful planning and the step-by-step process above, your new unit can enhance daily comfort and create a calm, cohesive bathroom.
About the Author: Rovalux
Rovalux shares practical guidance on bathroom furnishings, with a focus on integrated sink vanity units and storage-forward design. Our team values clarity and comfort, offering gentle, step-by-step help for confident choices. Thank you for reading—wishing you a smooth project and a beautifully organized space.


