
Mistakes to Avoid with a Made to Measure Bathroom Vanity
Updated on: 2025-10-06
Table of Contents
- Why a made to measure bathroom vanity suits real homes
-
Step-by-step guide to a made to measure bathroom vanity
- Step 1: Measure your space with care
- Step 2: Plan around plumbing and power
- Step 3: Choose storage that fits your routine
- Step 4: Select materials and custom vanity tops
- Step 5: Pick the right configuration and sinks
- Step 6: Refine design details and finishes
- Step 7: Order, review drawings, and approve
- Step 8: Prepare for bathroom vanity installation
- Bathroom vanity installation considerations for custom builds
- Tips for custom and bespoke bathroom vanity success
- FAQs about made to measure bathroom vanity
- Wrap-up and final thoughts on made to measure bathroom vanities
- About the author on made to measure bathroom vanity
Why a made to measure bathroom vanity suits real homes
A made to measure bathroom vanity can help you use every inch of your space with comfort and ease. Whether you prefer a custom bathroom vanity built to your dimensions or a bespoke bathroom vanity designed around a unique brief, a tailored approach supports better storage, a precise fit, and a cohesive look. This is especially helpful in rooms with quirks like uneven walls, tight alcoves, or limited clearances. When well-planned, a made to measure bathroom vanity also simplifies bathroom vanity installation because the unit is designed with your existing plumbing and layout in mind.
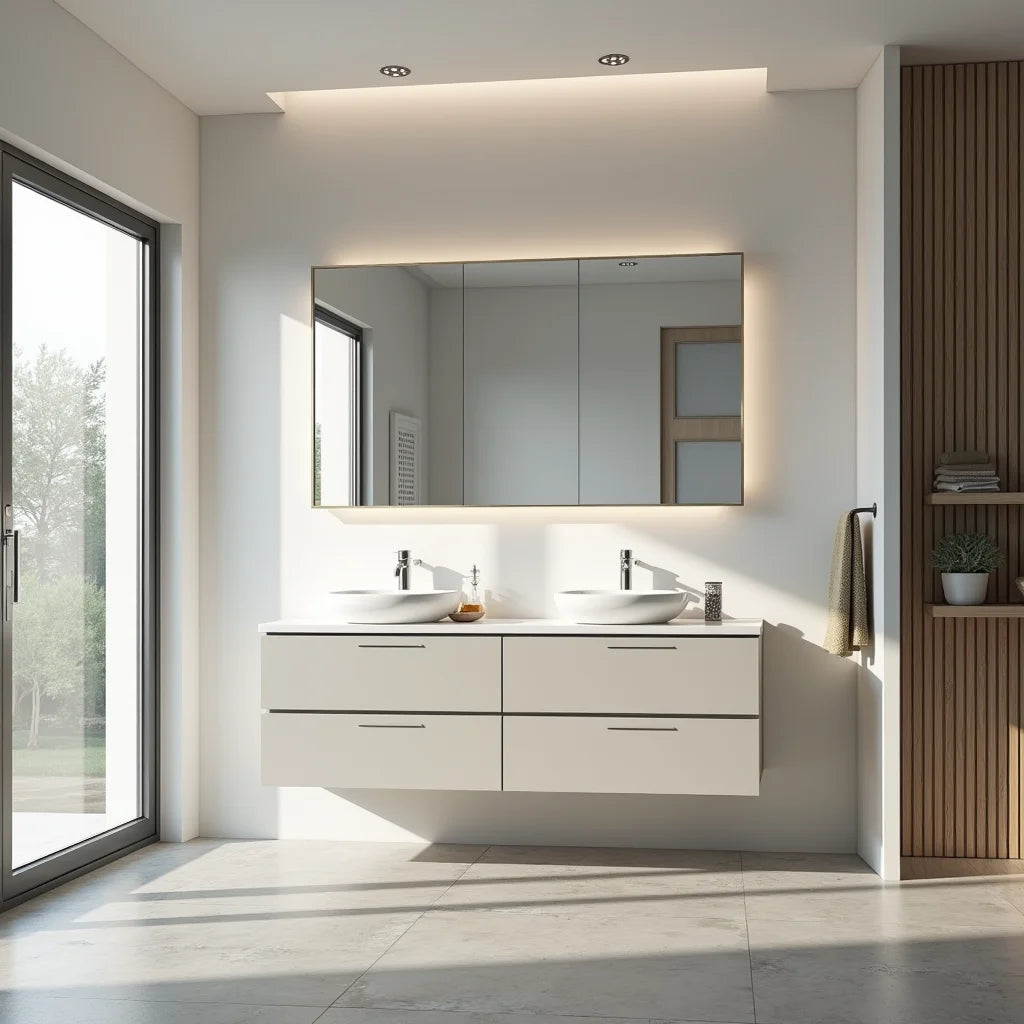
Thoughtful choices include custom vanity tops that handle daily use, hardware that feels comfortable, and finishes that resist moisture. With a gentle planning process, you can specify a made to measure bathroom vanity for small bathrooms or explore a made to measure bathroom vanity with double sinks for a shared space. If you are researching options, you may find it useful to browse trusted sources and connect with a service-oriented team such as Rovalux for guidance.
Step-by-step guide to a made to measure bathroom vanity
The steps below are designed to be clear and easy to follow. Please adapt them to your space and comfort level, and consider professional support if you prefer extra certainty.
Step 1: Measure your space with care
Start with width, depth, and height. Measure from finished walls and floors, and note any baseboards, door swings, or radiators. Check that the vanity will not block drawers, vents, or access panels. In tighter rooms, tape an outline on the floor to visualize clearance.
- Width: Wall to wall (or wall to edge of adjacent fixture).
- Depth: From back wall to the comfortable front edge, leaving walking space.
- Height: Consider user comfort and mirror or medicine cabinet placement.
These measurements provide a reliable foundation for a made to measure bathroom vanity and may answer the question “What measurements do I need to order a made to measure bathroom vanity?” with confidence.
Step 2: Plan around plumbing and power
Locate water lines, the drain, shut-off valves, and any outlets or switches. Record center lines and heights. If you plan to move plumbing, note the new locations and confirm feasibility before ordering. For wall-hung vanities, verify stud positions and blocking to support the weight.
Step 3: Choose storage that fits your routine
List daily items and occasional items. Drawers keep small items tidy; deeper cabinets handle tall bottles and cleaning supplies. Consider pull-outs, dividers, and organizers. If floor space is limited, a shallow-depth made to measure bathroom vanity for small bathrooms can make the room feel open while providing practical storage.
Step 4: Select materials and custom vanity tops
Match materials to use and maintenance preferences. For cabinet bodies, consider moisture-resistant plywood or high-quality MDF. For custom vanity tops, options may include quartz, porcelain slab, solid surface, or sealed natural stone. Each material offers a different look and care routine. Pair with a protective backsplash and choose sinks that complement the top.
Step 5: Pick the right configuration and sinks
Decide between a single-sink or a made to measure bathroom vanity with double sinks. Double sinks support shared routines but need greater width and plumbing planning. For compact rooms, a centered sink with symmetric drawers can balance storage and ergonomics. In narrow spaces, a single, offset sink may maximize usable drawer space.
Step 6: Refine design details and finishes
Choose door styles, drawer fronts, and hardware shapes that feel comfortable in hand. Consider soft-close hardware for a calm, quiet experience. Select finishes that coordinate with flooring and tile. If you prefer a minimalist look, a wall-hung design can create visual lightness and easier cleaning.
Step 7: Order, review drawings, and approve
When you place your order for a custom bathroom vanity or a bespoke bathroom vanity, review specification drawings with care. Check dimensions, clearances, sink positions, hinge swings, and cutouts for plumbing. Confirm finish names and edge profiles for custom vanity tops. Ask for any adjustments before final approval so your made to measure bathroom vanity arrives ready to fit.
Step 8: Prepare for bathroom vanity installation
Clear the area, protect floors, and have tools and mounting hardware ready. Confirm walls are plumb and level. If you are working with a professional, share the drawings in advance so the installation day goes smoothly. For countertop installation, follow curing and sealing guidance where applicable.
Bathroom vanity installation considerations for custom builds
Bathroom vanity installation benefits from straightforward planning. A few small checks can prevent delays and help the vanity sit level, line up with plumbing, and meet code requirements in your area.
- Wall condition: Confirm studs or blocking for wall-hung vanities and heavier tops.
- Leveling: Use shims and a level to set the cabinet body before securing it.
- Plumbing fit: Dry-fit the P-trap and supply lines before finalizing connections.
- Countertop safety: Carry tops vertically with edge protection and use the correct adhesive.
- Sealants: Apply silicone at splash and sink joints to reduce moisture intrusion.
If you would like to speak with a specialist about planning, you may find it helpful to send a note through the contact page. Clear communication and accurate drawings make installation more predictable and reduce on-site adjustments.
Tips for custom and bespoke bathroom vanity success
- Keep walkways clear: Leave comfortable standing room in front of the vanity for daily tasks.
- Mind door swings: Ensure drawers and doors open without hitting fixtures or walls.
- Plan lighting early: Overhead and mirror lighting should align with sink placement.
- Test finish samples: View samples in bathroom lighting at different times of day.
- Think long-term: Choose durable edges on custom vanity tops to reduce chipping.
- Ventilation matters: Good bathroom ventilation supports the longevity of wood finishes.
- Consider future needs: If a family is growing, a wider unit or double-sink layout may be useful.
- Protect the floor: Use furniture glides or sealed feet to prevent moisture wicking.
- Ask for a care guide: Request cleaning and maintenance notes for your selected finishes.
- Document specs: Keep a copy of final drawings for future repairs or updates.
For inspiration and practical ideas, you may enjoy reading recent insights on the blog or learning more about the team behind the craft on the about page. These resources can offer gentle direction as you refine your design choices.
FAQs about made to measure bathroom vanity
How much does a made to measure bathroom vanity cost?
Costs can vary based on size, materials, hardware, custom vanity tops, and finish complexity. As a general pattern, smaller single-sink units with durable finishes tend to be more modest in price, while larger designs, premium surfaces, and intricate details increase the total. Requesting a transparent quote with a clear scope is a kind approach to avoid surprises.
What measurements do I need to order a made to measure bathroom vanity?
At minimum, measure wall-to-wall width, available depth, and desired height. Note the center lines and heights for water supplies, drain, and power. Record obstructions like baseboards and door swings. If the vanity is wall-hung, include stud locations. These points help a custom bathroom vanity or bespoke bathroom vanity fit as intended.
What if I have a very small bathroom?
A made to measure bathroom vanity for small bathrooms can use shallow depths, wall-hung mounting, and smart drawers to maximize space. Lighter finishes and integrated lighting can make the room feel open while keeping essentials within reach.
Can I install a custom vanity myself?
Many handy homeowners feel comfortable with straightforward bathroom vanity installation, especially for floor-mounted units. However, wall-hung designs, stone tops, and plumbing changes may benefit from professional assistance. If you are unsure, a brief consultation can support a calm and safe outcome. You may start your conversation through contact.
Wrap-up and final thoughts on made to measure bathroom vanities
A made to measure bathroom vanity aligns your space, storage, and style in a thoughtful way. By taking precise measurements, choosing sensible materials, and planning for bathroom vanity installation, you can enjoy a custom bathroom vanity that fits with grace. Whether you prefer a bespoke bathroom vanity with unique details or a more streamlined approach, a careful process helps your vanity serve you for years with minimal stress.
If you would like to explore tailored options or request friendly guidance, you are welcome to visit Rovalux for more information and ideas.
About the author on made to measure bathroom vanity
Rovalux
Rovalux shares practical advice on custom bathroom vanity design, materials, and installation planning. With experience in tailored cabinetry and custom vanity tops, the team aims to make complex decisions feel simple. Thank you for reading—your project matters, and we are glad to help when needed.